Headlessness on the Raspberry Pi 3
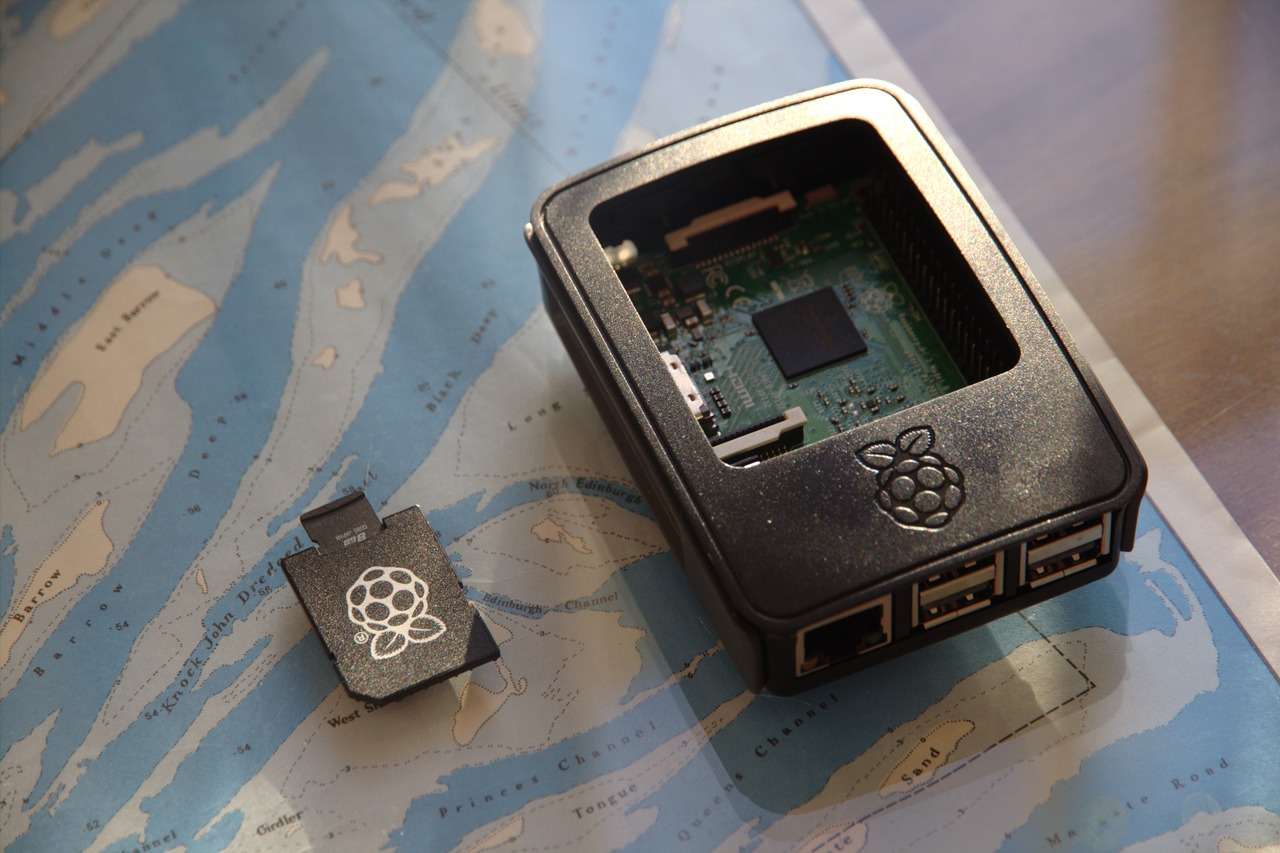
Raspberry Pi 3 with storage
I discussed different ways of capturing video from programmed visual applications, known as ‘sketches,’ in my last project blog. Now I will break down the ‘virtual framebuffer’ approach on the Raspberry Pi 3.
The sketch used for this demonstration is written in the Processing language although the approach could also apply to other languages. There are two benefits to starting with Processing: firstly its sketches are simply one file of code by default (unlike openFrameworks which starts with three), secondly the sketches are standalone applications (unlike sketches written in shader languages like WebGL) which means fewer dependencies.
How does one compile and run Processing sketches on a headless RPi3?
First I setup the environment and workflow by installing ResinOS on the RPi. It helps by supporting remote control of duplicable virtual operating system containers called ‘Dockers.’
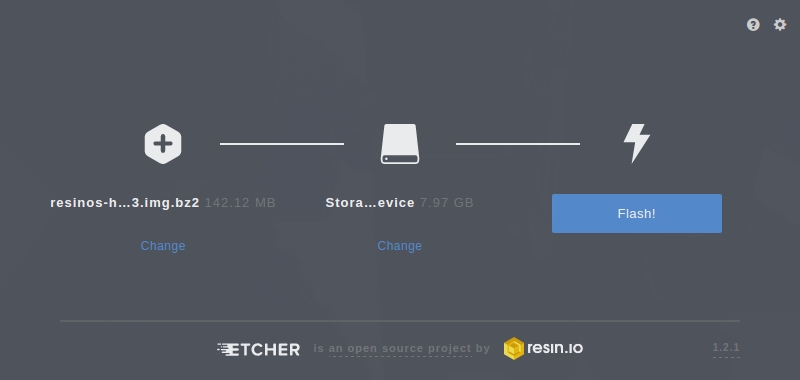
Using Etcher to flash the ResinOS operating system to an SD card
You can see what is installed in my container by looking at the ‘Dockerfile,’ which is used to automatically build the container image:
# In 'Dockerfile.template' ...

# use debian linux as the base
FROM resin/raspberrypi3-debian

# install dependencies
# (JDK 8 for processing and Xvfb for headless rendering)
RUN apt-get update && \
    apt-get -y install \
    oracle-java8-jdk \
    xvfb \
    libxrender1 \
    libxtst6 \
    libxi6 \
    imagemagick && \
    apt-get clean && \
    rm -rf /var/lib/apt/lists/*

# define our working directory in the container
WORKDIR usr/src/app

# copy all files in our root to the working directory
COPY . ./

# enable systemd init system in the container
ENV INITSYSTEM on

# download and install Processing for ARM
RUN curl https://processing.org/download/install-arm.sh | sudo sh

# empty script executed when the container starts up
CMD ["bash", "run.sh"]
Save a sketch that renders graphics (and don’t put a dash in the name like I did initially [???]):
// In 'processing_screenshot/processing_screenshot.pde' ...

void setup() {
  size(256, 256); // sketch dimensions
}
void draw() {
  fill(255, 128, 64); // set RGB fill colour
  rect(0,0, 256, 256); // draw background
  saveFrame("screenshot.png"); // figure
  exit();
}
Start the system with the sketch inside it and setup our virtual framebuffer in the container terminal (as root):
Xvfb :1 -screen 0 1024x768x24 </dev/null &
export DISPLAY=":1"
Then compile and run the Processing sketch from the container terminal:
processing-java --sketch=./processing_screenshot --runFinally we can check the screenshot:
identify -verbose ./processing_screenshot/screenshot.pngAnd, from the information returned by the previous command, we see the screenshot’s dimensions and colour profile match the Processing code exactly:
Image: ./processing_screenshot/screenshot.png
  Geometry: 256x256+0+0
  Histogram:
     65025: (255,128, 64) #FF8040 srgb(255,128,64)
  Number pixels: 65.5K
But what’s the point if there’s nothing to see?!
Now we know a way to compile and execute Processing sketches inside Raspberry Pi 3 memory. This handily overcomes a feature of OpenGL (a graphics library used by Processing) whereby off-screen graphics are left out by the renderer unless they’re explicitly drawn within the sketch onto ‘OpenGL Buffer Objects.’
It is also done in a headless environment which should increase overall performance as it skips the computation required to output video to a monitor, and in this project HDMI is unused. The Processing sketch is effectively forced to draw by being tricked into thinking it’s displayed in a window.
So what’s next with this project?
Saving screenshots within Processing is expensive and inconvenient for creative coders that might use this eventual system to present sketches on LED displays. So in order to present live sketches on an LED matrix, the next step is to access the framebuffer in a format that exposes colour of individual pixels.