Capturing Colour from Visual Sketches
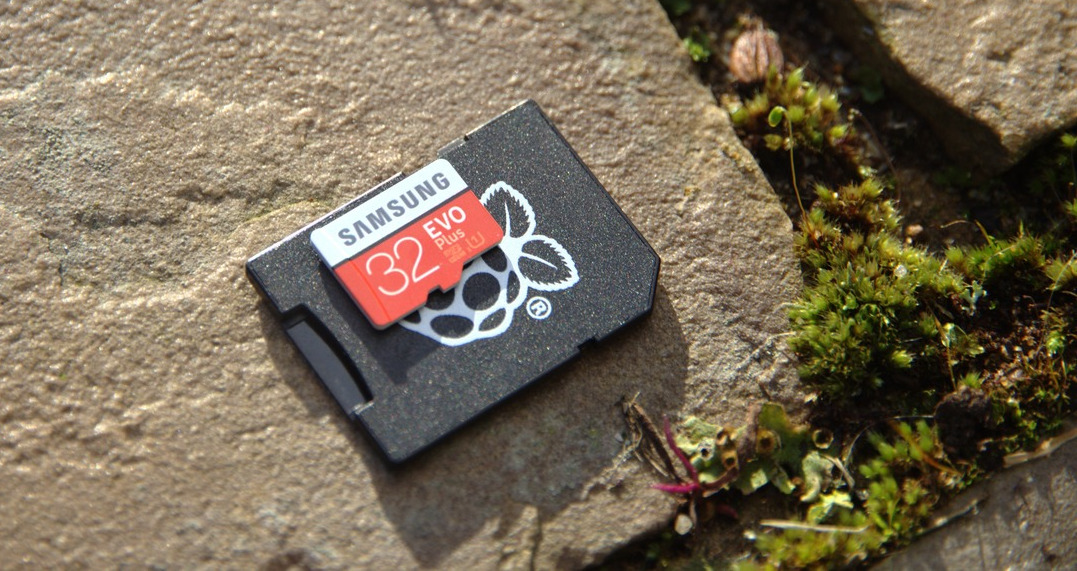
Portable storage suitable for running Raspberry Pi applications
The last milestone this project reached was compiling and running Processing sketches on a headless Raspberry Pi 3 using X virtual framebuffer (Xvfb). To present the sketches on LED arrays we need to do colour sampling. This post starts with a summary of my research into X regarding this task.
X Window System is common on UNIX-like operating systems and seems to be standard on Linux distributions in 2018 - exactly thirty years after X11 (the latest version) came out. It therefore goes without saying that there are many suggested methods of sampling X’s image formats, which are: XWD (window dump),1 XPM (pixmap)2 and the lesser used XBM (bitmap).3 I saw over ten libraries and applications suggested to interface with these formats: Xlib, fbdump, xv, CorelDraw, GIMP, grabc, ImageMagick, Netpbm, XnView, Netpbm and FFmpeg. There is also a website archive of code snippets for pixel grabbing.4
1 https://www.x.org/releases/X11R7.7/doc/man/man1/Xvfb.1.xhtml
2 https://en.wikipedia.org/wiki/X_PixMap
3 https://en.wikipedia.org/wiki/X_BitMap
4 http://rosettacode.org/wiki/Color_of_a_screen_pixel
Grabbing Pixels
The location of the framebuffer displaying the Processing sketch is specified using the -fbdir option for Xvfb:
Xvfb :1 -screen 0 256x256x24 -fbdir /var/tmpThen the framebuffer is found at /var/tmp/Xvfb_screen0, and can be verified by checking a single pixel using ImageMagick’s command line:
# verify Xvfb, will return the RGB colour values at position (x,y)
convert /var/tmp/Xvfb_screen0 -format '%[pixel:p{x,y}]' info:-
However this is slow and isn’t easy to interoperate with other functions (e.g. sending colours out the USB via serial communication) as it’s a command-line tool.
So I chose to prototype pixel grabbing and display using Python. First I tried grabbing pixels in Python using the library ‘Wand’:
img = Image(filename="/var/tmp/Xvfb_screen0")
pixels.append(img[x, y])
# measured at 2 frames per second
If the sketches are to be animated, the framerate needs to be much higher (at least 30 fps which standard for recorded video) so approached pixel grabbing with a different library (‘Xlib’ and ‘Pillow’):
o_x_root = Xlib.display.Display(':1').screen().root
o_x_image = o_x_root.get_image(x, y, 1, 1, Xlib.X.ZPixmap, 0xffffffff)
o_pil_image_rgb = PIL.Image.frombytes("RGB", (1, 1), o_x_image.data, "raw", "BGRX")
# measured at 10 frames per second
The second approach was faster despite having more lines of code, I think because it grabs pixels from the X framebuffer (rather than Xvfb’s) which is lower level.
Prototype LED display
The last part of this prototype is an implementation of LED display via serial communication, taking advantage of Python’s serial library on the Raspberry Pi and a LED control library on the connected Arduino:
Note that the Processing sketch running on the laptop is the same code running on the Raspberry Pi, although they are separate instances so aren’t synced together
The speed is noticeably slow in the video demonstration above, as the LED updates appear to jump instead of gradually change like the sketch does on the laptop. More work is needed to improve performance and fix this issue. Fortunately there are many more possible approaches to try, that may offer the high performance required. Some are mentioned with regards to X Window System above and one is implemented here: XGetImage.
Resources:
- LED control library for Arduino [link]